Written by
in
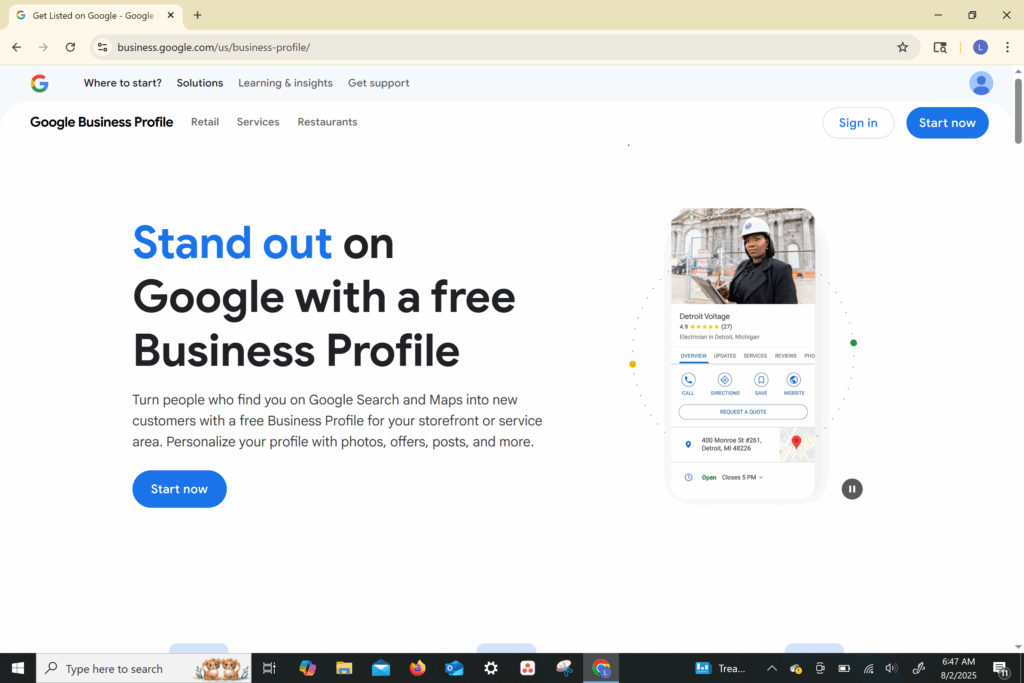
Visit: https://www.google.com/business/
Click “Start now”
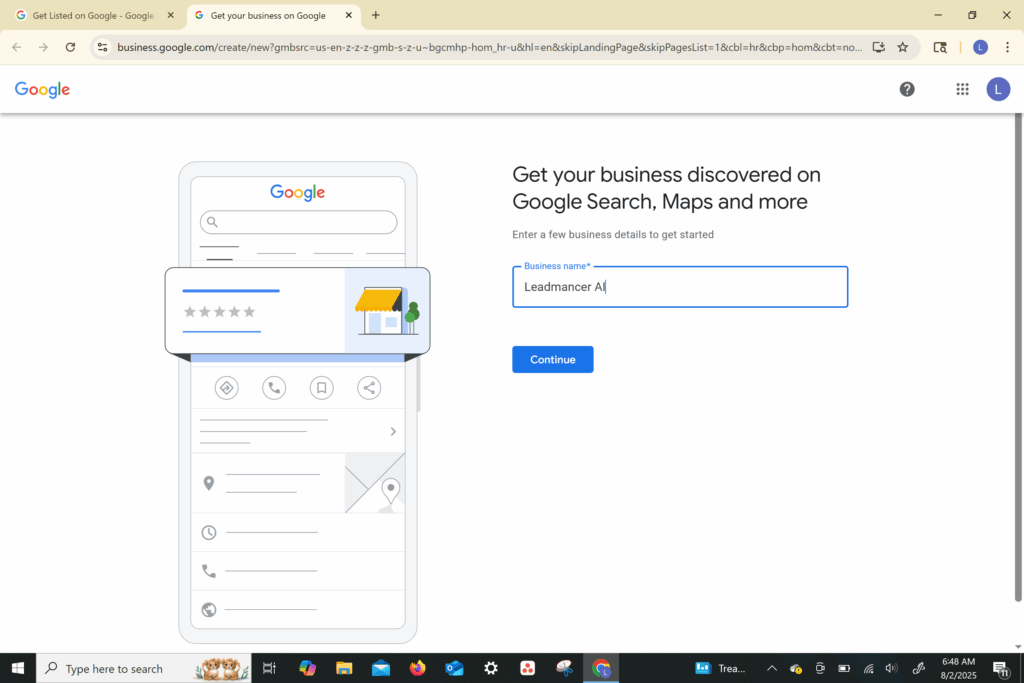
Type your business name exactly as you want it to appear
For example: LeadmancerAI
LeadmancerAI
If your business already exists, Google may suggest it — be careful to claim the right one if it’s yours.
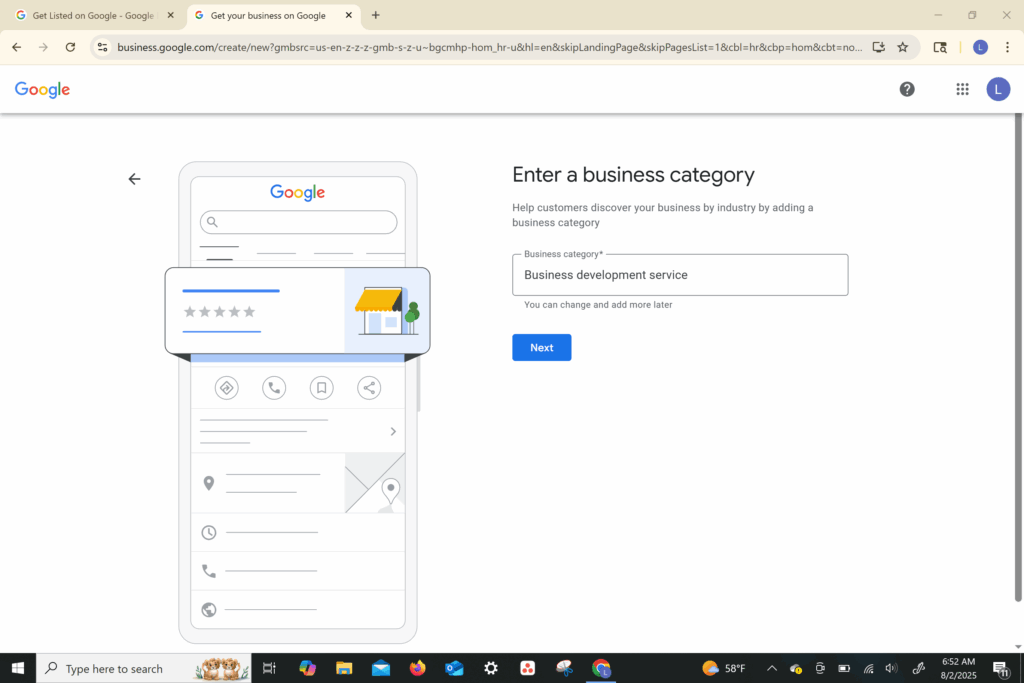
Start typing your service type and choose the closest match:
For Leadmancer: Marketing Agency or Business Development Service
Marketing Agency
Business Development Service
You can add more categories later.
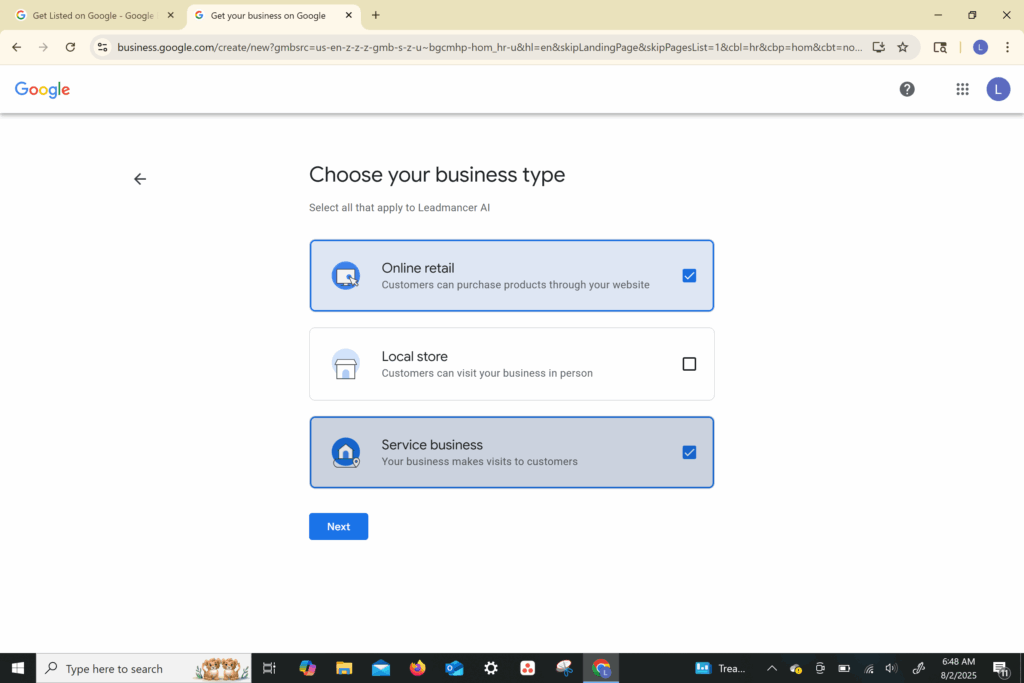
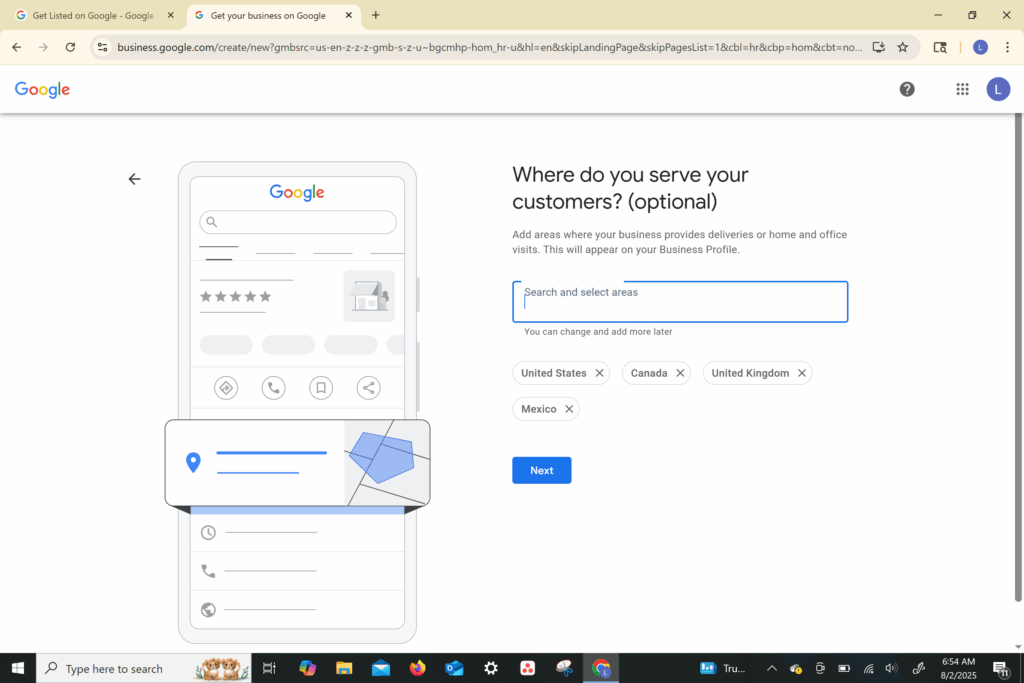
If customers come to your location, choose “Yes” and enter your business address.
If you go to your customers (e.g., service-based business), choose “No” and list your service area instead.
Example: “Pierce and King County Washington”
Add your:
Phone number (ideally a business number or Google Voice)
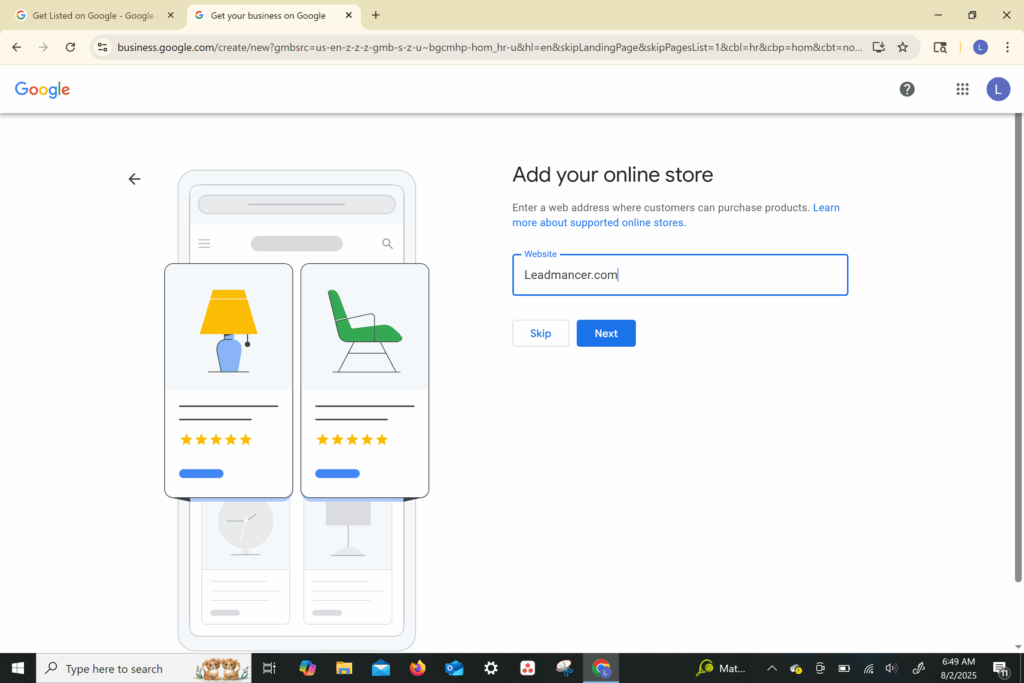
Website URL (or a landing page)
If you don’t have a website, you can create a free basic one later through Google.
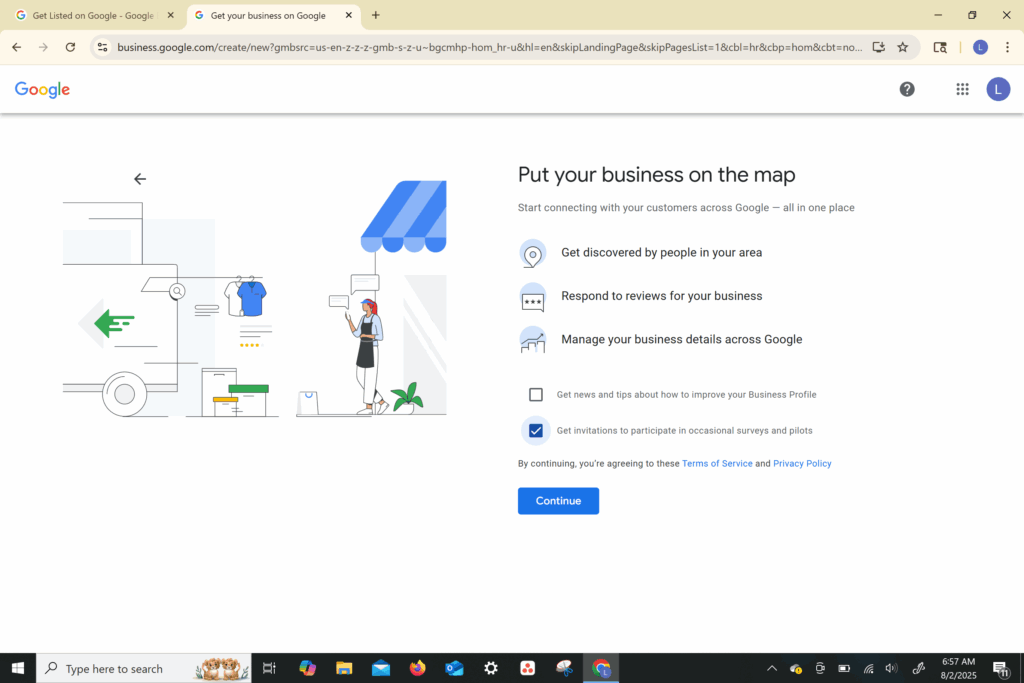
Google will ask if you’d like updates and recommendations. Choose “Yes” to get insights and tips.
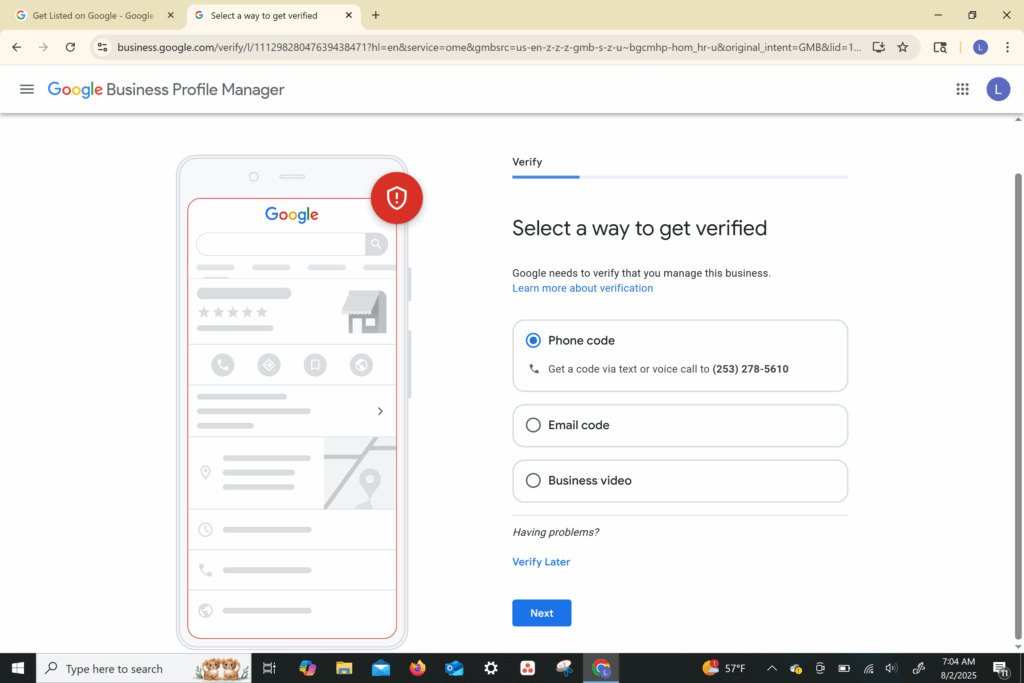
You’ll be asked to verify your business:
Most common method: Postcard mailed to your address within 5–7 days
Other methods (if eligible): Phone, email, or instant verification (often available if your website is connected to Search Console)
⚠️ Important: Do not edit your business name or address after requesting the postcard or you’ll have to request it again.
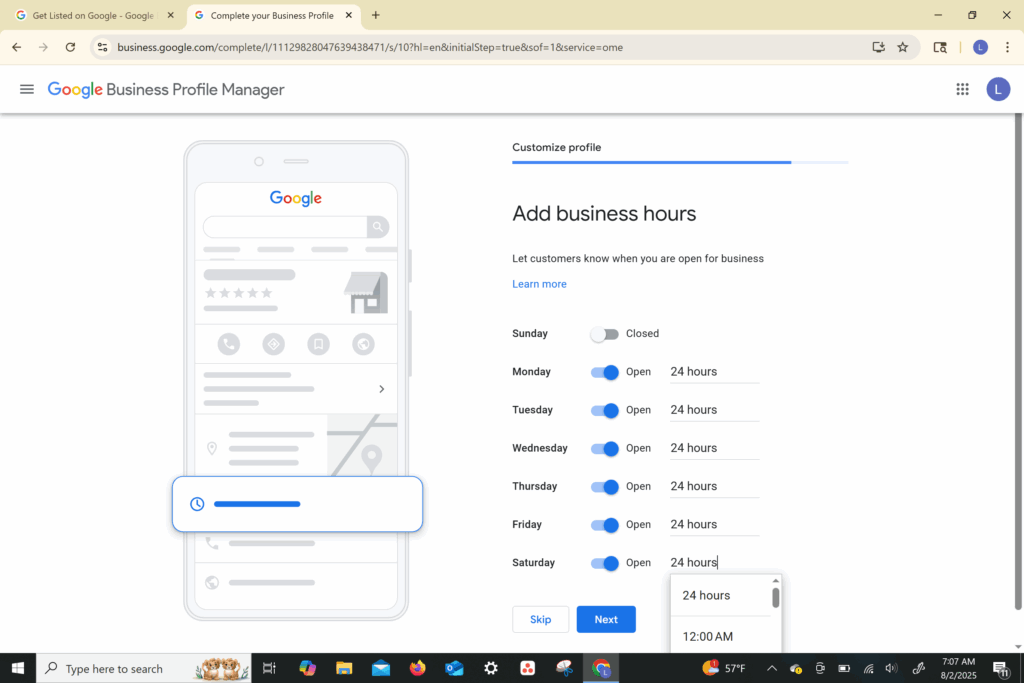
Set your regular working hours
You can add holiday hours later
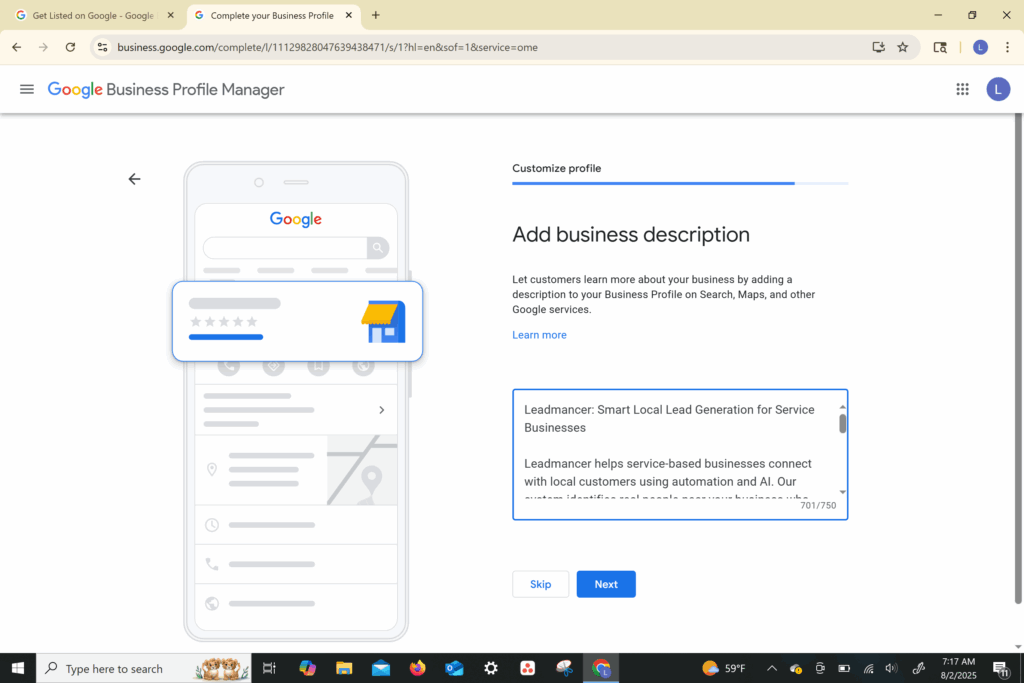
Use 750 characters to describe your business:
Who you serve
What makes you different
Core services
Tip: Use SEO-rich terms like “fence building,” “deck installation,” “Salem Oregon contractor,” etc.
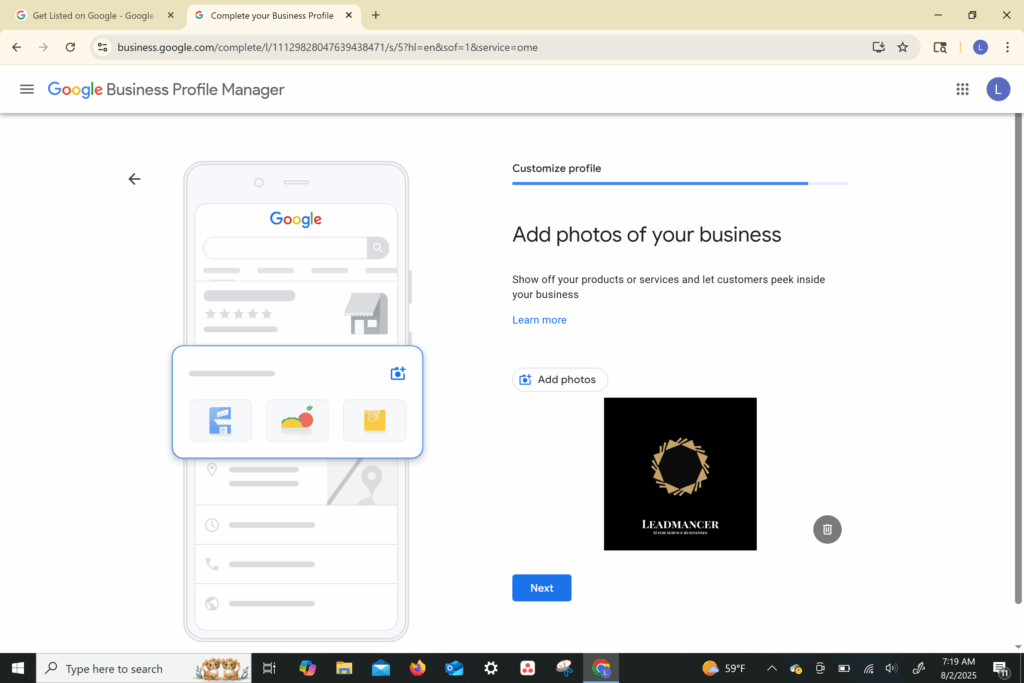
A logo
Cover photo (landscape format, 16:9)
At least 3–5 job site photos
For Leadmancer, we would use branded screenshots, logos, and photos of real outreach results if allowed.
Let customers message you directly from your GMB listing
Requires installing Google Business Profile app on your phone
Once verified, ask happy customers for Google reviews
Send them your short review link from the GMB dashboard
At Leadmancer we can automate the review requests and follow-up
Use the “Posts” feature to:
Share blog posts
Add before/after photos
Promote discounts or free trials
Post once a week for best SEO impact.
Respond to every review, good or bad, professionally.
Keep your listing updated regularly (especially hours, services, and photos).
If you offer mobile services, list multiple zip codes or cities in your service area to boost coverage.